Interested in adding Email Marketing to your Toast Suite? Navigate to Toast Shop now!
With email marketing, sending the right message to the right guest at the right time is important. Part of this strategy is to curate your audience and design messages that will pique your guest's interests.
Improve marketing outreach and keep guests returning with integrated email marketing that helps you save time, drive sales, and maximize guest data.
In addition to those who sign up through your Email Marketing signup link, guest emails are collected automatically through a variety of sources in Toast, including Online Ordering, the Local by Toast app, Loyalty, Online Gift Card purchases and eGift Cards, and Digital Receipts. If you have guest emails from a previous service, you can use the Manage Contacts tool to add them to your Email Marketing database.
Manage your Email Marketing Audience.
Note: Restaurants set up in the same management group will appear in Email Marketing together. To remove a restaurant from Email Marketing, the restaurant needs to be separated from the Restaurant Management Group. To do this, please chat with Customer Support or submit a ticket here. Start a live chat here with our Customer Support team. Chat is available in Toast Web and Payroll Web (blue support button in bottom right of every page) and the Support tab in the Toast Now app.
For more information on how to contact support view "How to Contact Customer Support" or go to support.toasttab.com.
In this Article:
Manage Your Toast Email Marketing Audience
If you have guest emails from a previous service that you'd like to add to your Email Marketing database, follow the steps below to import them via .tsv or .csv file.
- In Toast Web, navigate to Marketing > Email marketing.
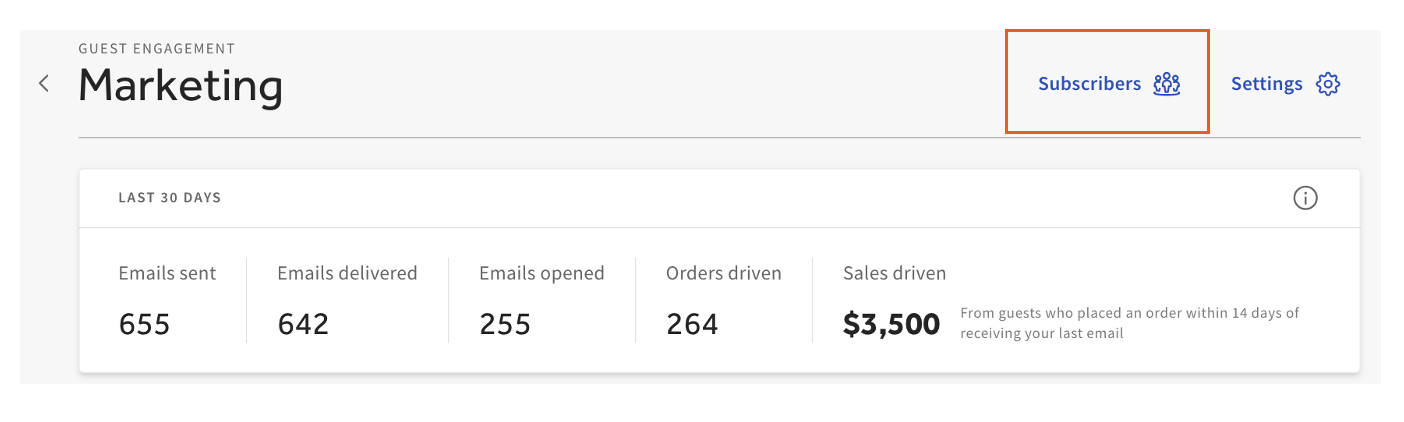
- From the Email Marketing dropdown, select Subscribers.
- You can also select Subscribers from the top of the Email campaigns page.
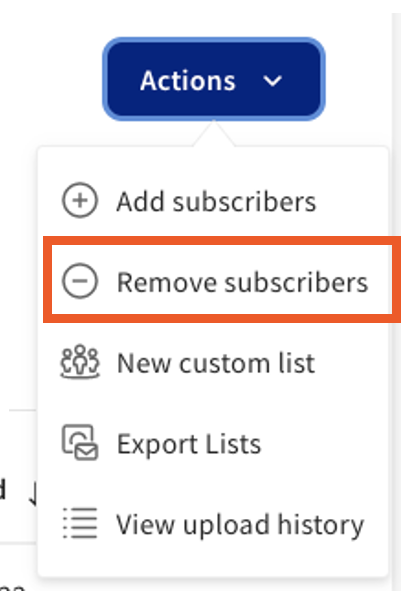
- Then select Actions to view the drop-down menu to complete the following:
- Add subscribers
- Remove subscribers
- New custom list
- Export Lists
- Marketing signup link
- View upload history

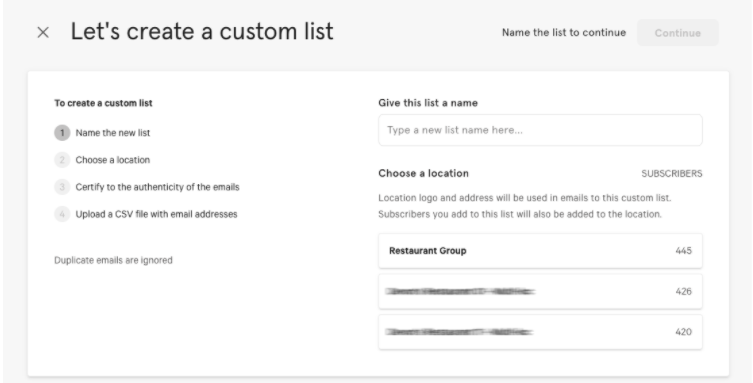
- When creating a New custom list, enter the name of the list in the Give this list a name field.
- Below the name field, choose the location this list is associated with. If it is associated with multiple locations, choose Restaurant Group.
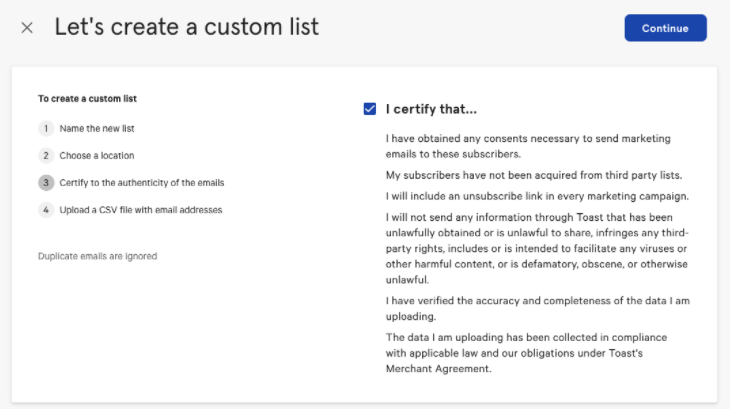
- Select Continue in the top right.
- Next, indicate that you accept Email Marketing's terms and conditions by selecting the box next to I certify that...
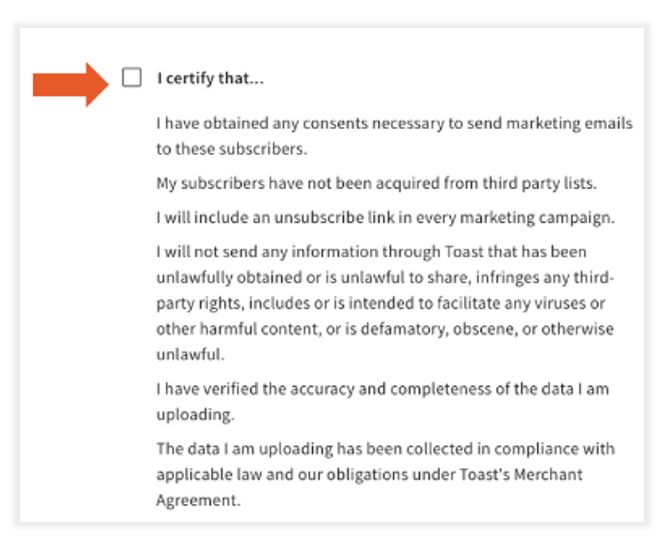
- Then select Continue.
- Note: If you have multiple locations using Email Marketing, the email addresses you upload will be added to the audience list for the restaurant location you selected in step 6 as well as the audience list for the whole restaurant group.
- In the Bulk add Subscriptions pop-up, select Upload data from file and choose the desired .tsv or .csv file from your computer.
- Note: First Name and Last Name can be included in the file you upload, but only Email address is required and is the only field imported into the system at this time.
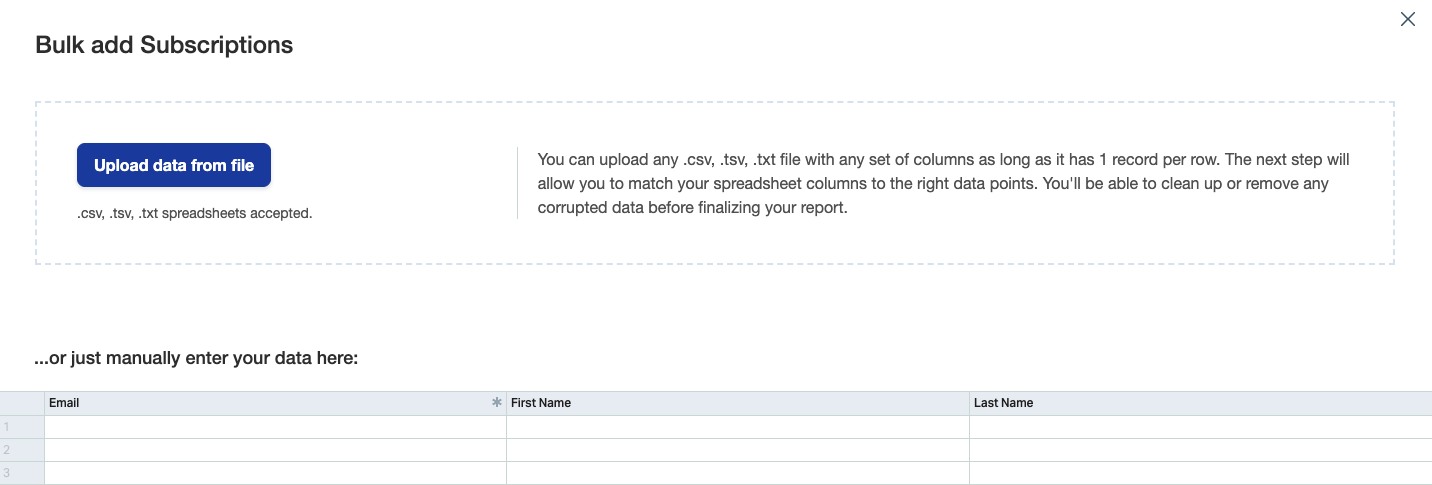
- Then, choose Yes or No to indicate whether the uploaded file includes column headers/names.
- On the next screen, select the dropdown to match the columns in your document to the preset mapping fields Email, First Name, and Last Name.
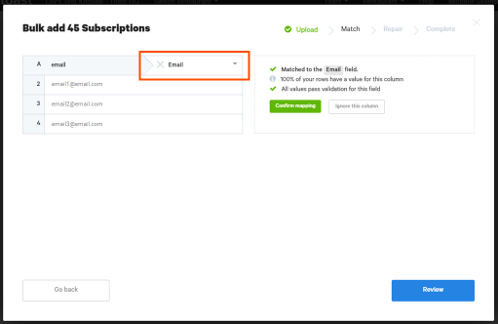
- Note: First Name and Last Name can be included in the file you upload, but only Email address is required and is the only field imported into the system at this time.
- When you're finished, select Confirm mapping. Any data other than an email address will be discarded.
- After all columns have been mapped, select Review to continue.
- Here, you will be able to see all data you have entered and use the toggle at the top of the screen to identify any issue areas within your data (i.e. incorrectly spelled email domains). To correct invalid data, select the cell and type in the correct information.
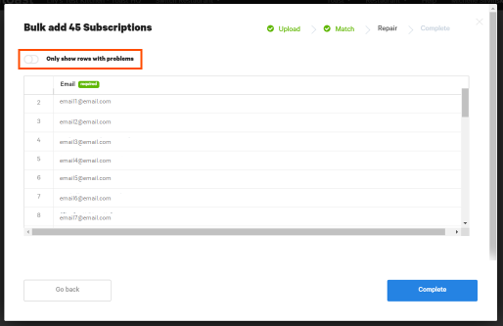
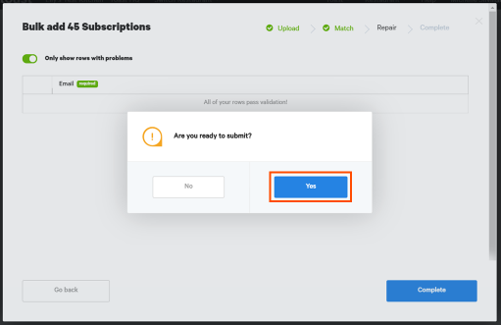
- Select Complete.
- When prompted Are you ready to submit? select Yes.
Nice work! You've successfully added new guest emails to your Email Marketing database.
Note: Email Marketing will remove any duplicate email addresses manually added or collected automatically through online ordering, e-gift card purchases, or your loyalty program.
Back to top
Use one of our auto-generated segments or create custom segments to target guests based on their previous orders at your restaurant.
- In Toast Web, navigate to Guests > Guestbook.
- Here you can select drop-down menu to complete the following auto-generated segments:
- All guests
- Big Spenders
- Lapsed guests
- Regulars
- Once you select an option it will give you a list of guests with matching criteria.
- You can create custom segments, select Edit Segment. Here you can identify guests by their spending and order habits to personalize offers, promotions, and campaigns with the filters below:
- Last order
- Number of orders
- Average spend per check
- Average tip per check
- Order source
- Dinning options
- Loyalty status
- Guests tags
- If you selected either auto-generated segments or create custom segments select Email these guests.
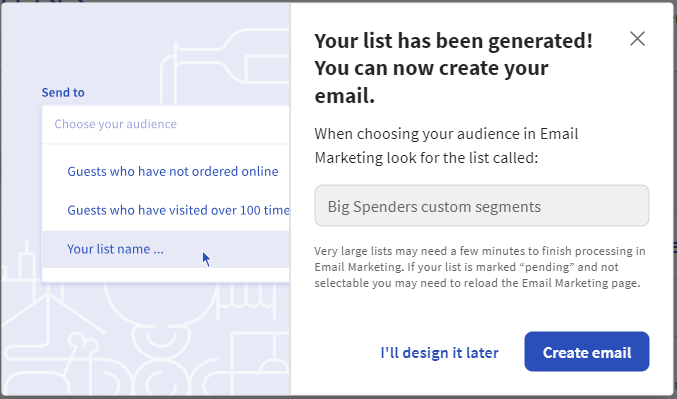
- You will get the following pop-up message:
- To contact these guests we'll first create a custom list in Email Marketing. Pick a unique list name for your audience.
- Select Create list and continue.
- You will get the following pop-up message:
Back to top
If you want to make a customized list of subscribers to send a one-time campaign to, you will need to create a new list. Follow the steps below to create a new email list:
- At the top of the Email marketing dashboard, select Subscribers.
- Select Create Custom List.
- Enter a name for your list. This name will be internal-facing only and should help you remember which guests are included in this audience.
- Select the location you wish to send from, then select Continue.
- Select the I certify checkbox to agree to the listed criteria and select Continue.
- On the next page, select Upload data from file to use a .csv file to bulk upload guest email addresses or enter your guest’s email addresses manually.
- When finished, select Yes, OK, then Continue.
Nice work! You’ve created your first list. Now, when creating your next one-time campaign, you can select this list from the drop-down menu under Send to.
Back to top
If you want to add a subscriber to a list, follow these steps:
- At the top of the Email marketing dashboard, select Subscribers.
- Select Add Subscribers.

- Select the list you would like to add guest email addresses to and select Continue.
- Select the I certify checkbox to agree to the listed criteria and select Continue.
- On the next page, select Upload data from file to use a .csv file to bulk upload guest email addresses or enter your guest’s email addresses manually.
- Select Continue.
Nice work! You have successfully added additional guest emails to a custom audience list.
Note: It may take time to process the emails, depending on the quantity.
Back to top
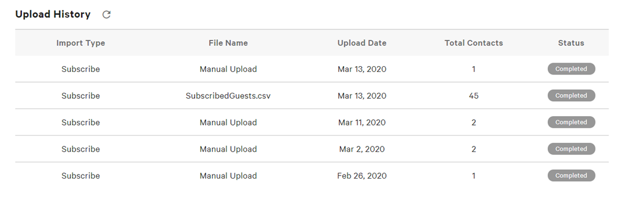
After uploading additional guest emails to your Email Marketing database, you can view all past upload activity from the Upload History section of the Manage Contacts page. This includes the import type, file name, upload date, total number of contacts, and the status of the upload.
Back to top
If you have guest emails collected from a previous service that you would like to remove from your Email Marketing database, follow the steps below. Note that all guest emails that are hard bounced or unsubscribed when using Email Marketing are automatically removed for you.
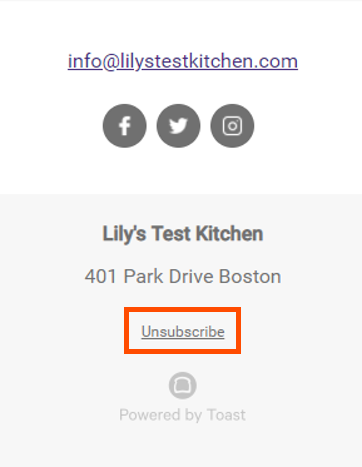
Guests can choose to unsubscribe from your Email Marketing emails by selecting the Unsubscribe link at the bottom of each email sent.
- In Toast Web, navigate to the Marketing > Email marketing > Email campaigns.
- From the Email Marketing dashboard, select Subscribers.
- Select the Actions drop-down menu, and select Remove subscribers.
- Then, enter the guest email addresses to be unsubscribed manually in the Email column. If you have a file of email addresses to unsubscribe, select Upload data from file and upload a .csv or .tsv file of guest emails. See the Import Previous Guest Emails section of this article for more information.
- Select Continue.
- Review the email addresses listed. Use the toggle at the top of the page to identify any invalid email addresses and correct them by typing directly into the cell.
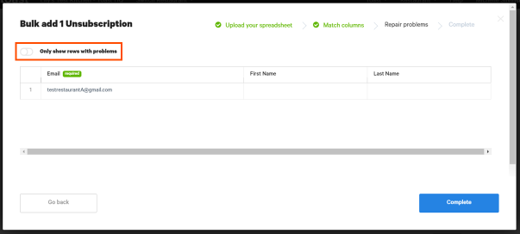
- When finished, select Complete and choose Yes when asked if you're ready to submit.
Nice work! You've successfully unsubscribed from your contact list.
Back to top
To view or export a list of all guest emails in your Email Marketing database to a .csv file, scroll down to Export Lists on the Manage Contacts page and select Export Lists once again.
Note: If your restaurant has multiple locations using Email Marketing, your contact lists will be split by location when downloaded.
Back to top
Back to top

